Hello and welcome to #PokeNOM month, everybody! Myself, and several other cool nerdy food people have begun scheduling monthly food themes based on books, movies, and video games as a way to bring the community together. Check out the post over at The Gluttonous Geek to get all the details, recipe links, and more! And you may just find some cool new blogs to follow as well!
My first contribution to #PokeNOM are the prided pastries of Lumiose City, Lumiose Galettes!
The sprite might look like just a cookie, but galettes are actually little cakes! There are a few different kinds, but because of the Parisian aesthetic of Lumiose City in Pokémon X & Y, I felt like this item would most closely resemble the Galette des Rois, or “King Cake,” which is popular in France around Christmas and New Year’s Day.
![]()
The galette, also called a pithivier, is very simple to put together and very tasty to eat (the best combination!). It basically amounts to a sweet almond filling, called frangipane, tucked between two layers of puff pastry. Hopefully using the recipe below, now even you can enjoy the most popular treat in The City of Light!
+ Frangipane +
ITEMS
| Ingredient | Amount |
|---|---|
| Almond Paste | 8 oz |
| Sugar | 8 oz |
| Butter (room temp) | 4 oz |
| AP Flour | 1/3 cup |
| Egg | 1 |
EQUIP
- Food Processor
- Rubber Spatula
- Small Bowl
- Plastic Wrap
WALKTHROUGH
- Place sugar and almond paste in the bowl of a food processor and blend until the contents are sandy (see fig.1, below).
- Add the room temperature butter in small additions. Incorporate completely, making sure there are no streaks or chunks of butter remaining (see fig.2, below).
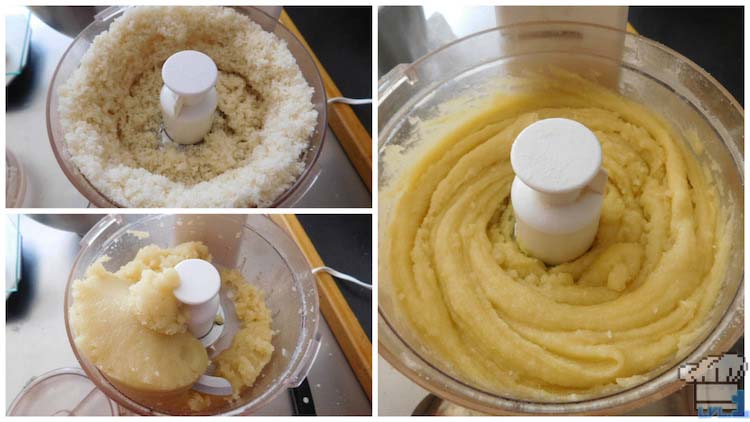
- Finally, process together with the flour and egg to achieve a smooth, creamy consistency. Transfer the frangipane to a small bowl, wrap and place in the refrigerator to set up for at least an hour before using.
Galette Assembly
ITEMS
| Ingredient | Amount |
|---|---|
| Frangipane | see above recipe |
| Frozen Puff Pastry | 2 packages |
| Flour | as needed |
| Water | as needed |
| Egg Wash | see recipe below |
| Glaze | see recipe below |
| Corn Syrup | 2 TBSP |
EQUIP
- Rolling Pin
- 3″ Circle Cutter
- Parchment Paper
- Cookie Sheet
- Small Sharp Knife
- Small Brush
I opted to go with store bought puff pastry with this application, because it’s a convenience product that really saves a lot of time. Although making your own puff pastry dough from scratch is rewarding, it can be frustrating; especially if your kitchen runs a little warm (like mine!). I used the Pepperidge Farm brand that comes with two folded sheets per box.
Working with puff pastry is all about keeping its temperature in the goldilocks zone. Too warm, and the butter will run out of the dough. Too cold, and the dough is too stiff to work with. To this end, it’s best to work in small batches and to return the dough to the refrigerator if you feel it becoming too soft. It’s also important to keep the dough covered when not in use to prevent it from drying out. You can use a slightly moistened kitchen towel or plastic wrap for this.
Now, let’s get back to business!
WALKTHROUGH
- Lightly dust your work surface with flour and thaw out one of the frozen puff pastry sheets until it can be easily unfolded and laid flat. Use a sharp knife to cut the sheet in half and return one of the halves to the refrigerator.
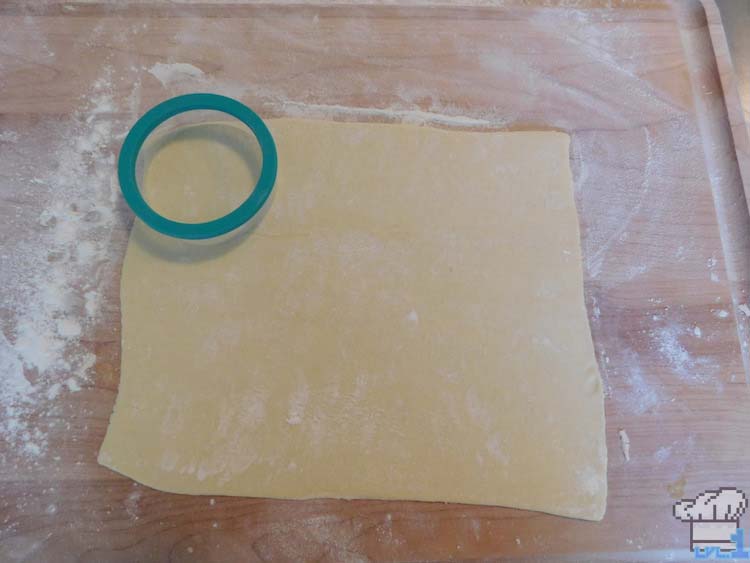
- Use a rolling pin to gently roll out the dough (rolling from the center, outwards) until it is about the size of a normal sheet of paper (8.5″ x 11″). Apply flour sparingly, as needed, in order to keep the dough and pin from sticking together. Use the ring cutter to punch out at lease 8 circles from the dough and transfer them to a parchment-lined sheet tray.
- Take out the other half of puff pastry dough, and repeat the process above. This should leave you with at least 16 3″ puff pastry rounds. At this point, you may wish to return the rounds to the refrigerator for a minute or two to let them firm up a bit.
- Now, it becomes more important to work in small batches. I’d recommend doing the following procedure with only 2 rounds (top and bottom) at a time, to start, until you get the hang of it. So, take out two puff pastry rounds from the ‘fridge, as well as the bowl of frangipane we made earlier.
- Scoop out a small amount of frangipane and roll it into a ball with your hands, no larger than the size of a quarter. Place the ball in the center of one of the puff pastry rounds and flatten it gently with your palm.
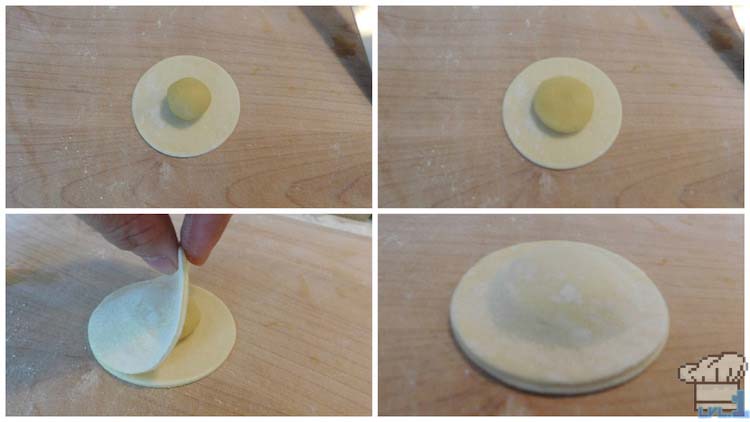
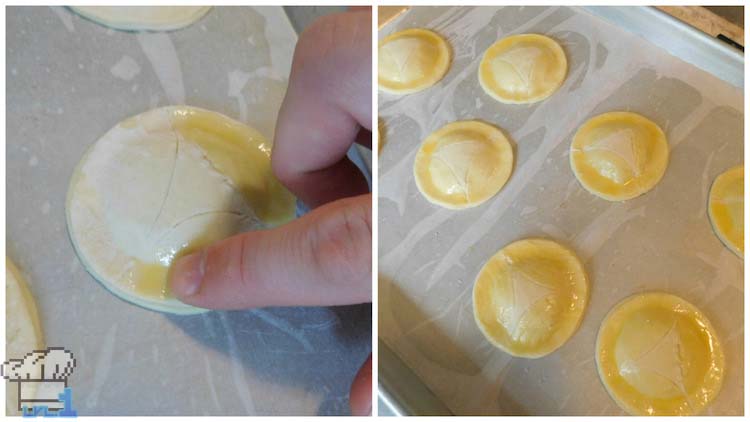
- Dip your finger in a small amount of water and run it around the perimeter of the pastry round. Take the second pastry round and gently lay it on top, ensuring that the edges are lined up and there isn’t any drastic overhang.
- Gently, but firmly, apply pressure with your thumb around the outside to stick the two layers together, and you should be left with something that looks like a big ravioli (like in fig.4, above). If the mound in the middle is too high, use your palm to softly push it down.
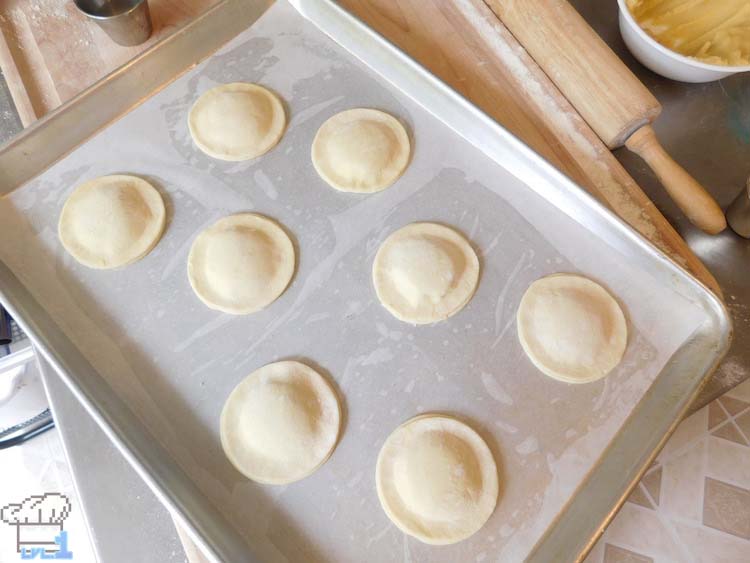
- Repeat this process with the rest of the puff pastry rounds until you have 8 little galettes. Place them on a parchment-lined cookie tray, then cover with plastic wrap and let them rest in the refrigerator for 25 minutes. While you’re waiting, we can make the egg wash and glaze.
- Oh yeah, and preheat your oven to 400F!
- Make the egg wash by combining one egg yolk with 2 tsp water. This will help the pastry take on a golden brown color in the oven.
- Make the glaze by combining 2 TBSP of corn syrup with 2 tsp water. When brushed on the pastries, this will give them an attractively shiny finish.
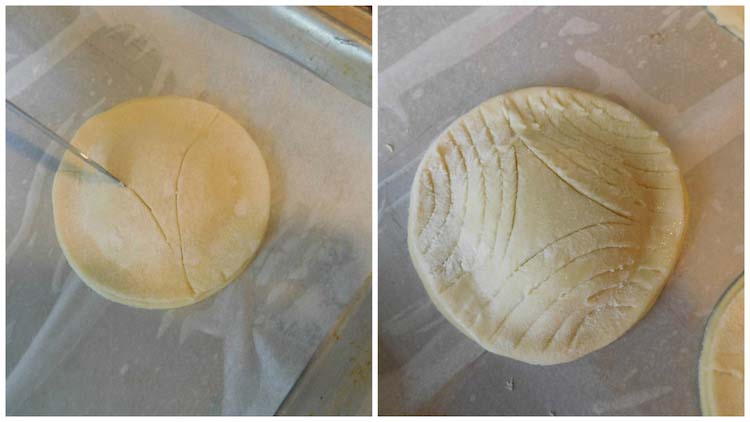
- Once the dough has finished resting, we can add some designs to the top. I opted to stay true to the game and only do a basic triangle pattern, but feel free to get fancy with it! Use a sharp knife and draw it across the top of the pastry, as desired. We’re only looking to scratch the surface, so you don’t need to apply hardly any pressure. I find that dipping the tip of the knife in water before drawing tends to help best.
- Once you’re satisfied with your designs, it’s time to egg wash. I wanted to get a nice contrast of color by only egg-washing certain areas; but, traditionally the entire surface would be covered. Make sure to avoid dribbling any egg wash down the sides of the galettes, as this can diminish their ability to rise in the oven.
- After a quick 5 minute rest in the ‘fridge, bake the galettes at 400F for 20-25 minutes.
- Remove from the oven and quickly brush the top and wides with the corn syrup glaze we made earlier, before returning them to the oven for another 5 minutes.
- After 5 minutes, take them out of the oven and carefully transfer them to a rack to cool. Resist the urge to eat them until they’ve cooled down haha. I will say that they taste best when still a little warm from the oven, though. :9
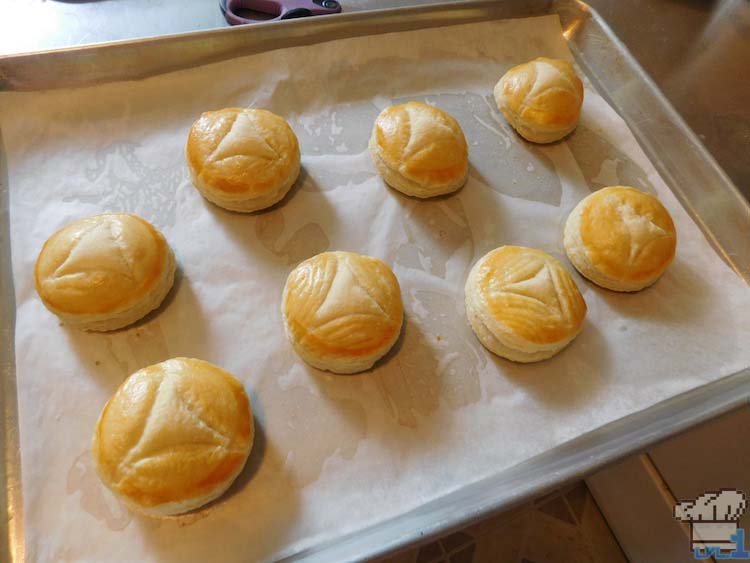
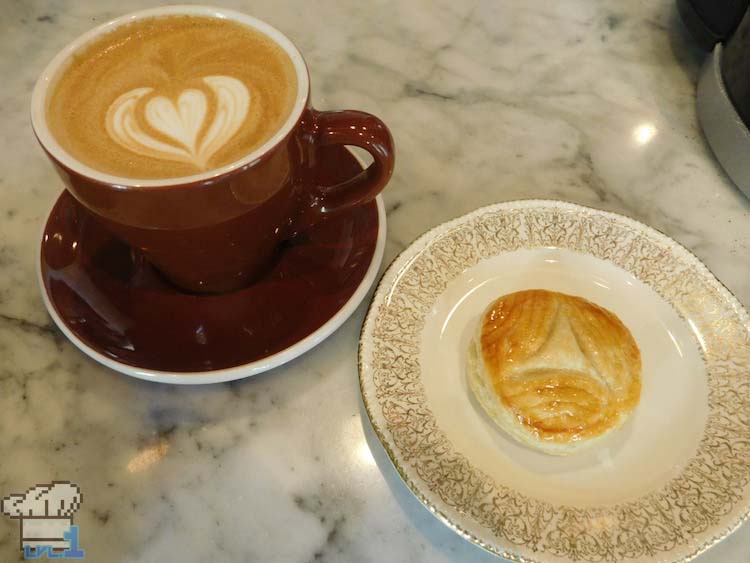
How fancy! Truly a snack, worth of Lumiose City’s haute cuisine!
Hey! Thanks for reading all the the way to the end! You’re awesome :D! If you haven’t already and are looking for more nerdy food stuff, consider following me on Twitter, Facebook, tumblr and Instagram. I post a lot of work in progress pictures for the blog as well as some stuff from my real job as a pastry chef. If that sounds like something you’d be into, please check out those links above! Anyway, take care everyone and I’ll see you soon with an all new recipe!

