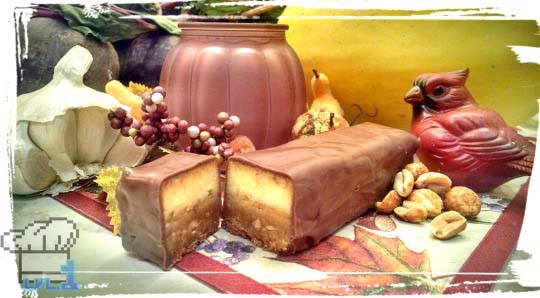
It’s not an exaggeration to say I’ve wanted to make these things since I was 10 years old. After trying them with mild cheddar (eh) Velveeta (yuck) and cream cheese (not cheesy enough) I settled on a mix of cottage and farmer’s cheese to get the right sweetness without sacrificing the funk. I hope you give them a shot!
A more curious foodstuff than the Peanut Cheese Bar is seldom happened upon by the average traveler. Indeed a taste of this local delicacy requires a trek through underground caverns and and behind raging waterfalls; but for those adventurers who make the journey, the quirky denizens of this valley village show a hospitality unparalleled.
Among the herbs, beetles, and the not-so-enticing postcards available in the shops, the Peanut Cheese Bar is a standout of culinary ingenuity. The ingredients might seem like an unlikely match at first, but this funky treat will leave you satisfied and ready to brave the long trail back home.
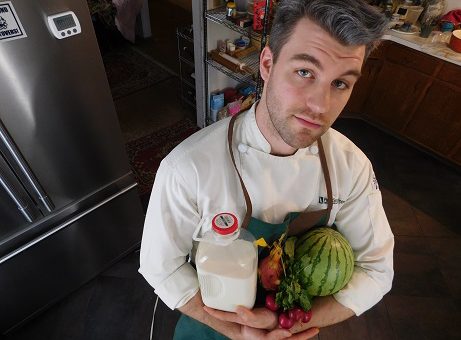
With the ZOOOMing and bOInGing that seemed to punctuate every sentence, I must admit I had a difficult time understanding the “chef” when I asked about this recipe. Click ‘Continue Reading’ for an approximation to the best of my ability.
+ Peanut Cheese Bar +
ITEMS
| Ingredient | Amount |
|---|---|
| Butter (soft) | 1 1/2 sticks |
| White Sugar | 1 1/2 cups |
| Eggs | 2 large each |
| Chunky Peanut Butter | 1 cup |
| Vanilla Extract | 1 tsp |
| AP Flour | 2 cups |
| Baking Powder | 1 tsp |
| Salt | 3/4 tsp |
| Cottage Cheese | 16 oz |
| Farmers Cheese* (room temp) | 8 oz |
| White Sugar | 1/2 cup |
| AP Flour | 3 TBSP |
| Lemon Zest | 2 lemons’ worth |
| Eggs | 4 large each |
*It’s been brought to my attention that the definition of farmer’s cheese tends to differ by country of origin. To clarify, I’m using the U.S. style in this recipe, similar to a pressed cottage cheese.
WALKTHROUGH
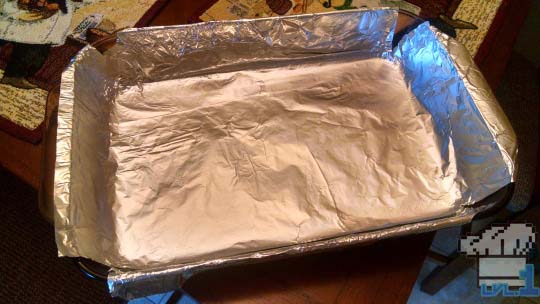
Preheat the oven to 350F. Prepare a 9×13 baking pan by draping two pieces of foil perpendicularly across the bottom of the pan in order to create a ‘sling’ for easy removal. Grease the top of the foil with cooking spray.
- In the bowl of an electric mixer, cream the butter and sugar together until light and fluffy
- Add the eggs, one at a time, while mixing until fully incorporated, scrape down the sides of the bowl as you go
- Add the peanut butter and vanilla, then mix to combine
- In a separate bowl, whisk together the flour, baking powder and salt
- Add this dry mix to the peanut butter batter in two additions and mix until just combined
- Press the dough into the prepared baking pan, being sure to distribute it evenly. (A piece of plastic wrap over the top will help you manipulate the dough without it sticking to your fingers.)
- Bake the peanut crust for 20-25 min, or until the top begins to turn golden brown
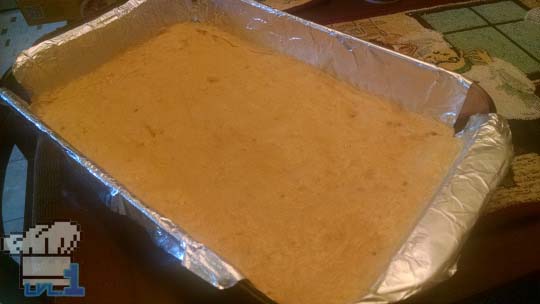
- Remove the pan from the oven, and let cool slightly while you prepare the cheese filling
- Press the cottage and farmer cheese through a food mill or colander, into a large mixing bowl (this helps break the cheese down into very small pieces)
- Add the sugar, flour, and lemon zest to the cheese and stir to combine
- Beat the eggs in a food processor for about 45 seconds until slightly pale
- Add in the cheese mixture and process briefly until all components are combined (depending on the size of the food processor, this may require two separate additions.)
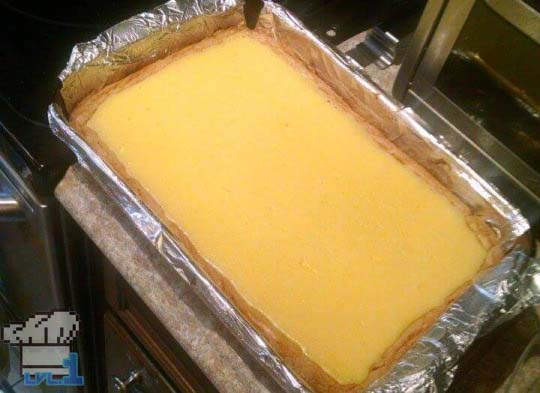
- By the time you’ve assembled the cheese filling, the peanut butter crust should be sufficiently cooled and slightly sunken in the middle. Pour the filling on top of the crust and place the pan back in the oven to bake for 30 minutes until the cheese has set
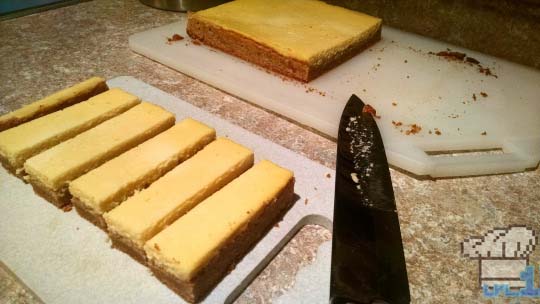
- Remove from the oven and let cool for 30 minutes before lifting the bar out of the pan with the foil. Continue to cool for at least 1 hour before cutting (bars will keep in the refrigerator for about a week, and can also be individually wrapped and frozen for up to a month.)
BONUS
As a kid, I always thought peanut cheese bars would be a lot like candy bars. To that end, and for the picture at the top of the page, I used chocolate candy melts to coat the chilled bars individually. These chocolate wafers can be found in the craft store and require gentle melting on a double boiler with a little added vegetable oil to achieve the desired consistency of a pourable coating. The PCBs taste pretty good on their own, but the chocolate really brings it all together if you’re feeling adventurous :]
Hey! Thanks for reading all the the way to the end! You’re awesome :D! If you haven’t already and are looking for more nerdy food stuff, consider following me on Twitter, Facebook, tumblr and Instagram. I post a lot of work in progress pictures for the blog as well as some stuff from my real job as a pastry chef. If that sounds like something you’d be into, please check out those links above! Anyway, take care everyone and I’ll see you soon with an all new recipe!

